
Under-sink water filter installation in Warsaw — steps and plumber help
How do you install an under-sink water filter in a Warsaw apartment?
Under-sink water filter installation in a Warsaw flat means teeing into the cold drinking-water feed after the local isolator, mounting the cartridge housing in the cabinet, and routing either the existing mixer cold side or a separate filter tap to the outlet. Shut the kitchen isolator and flat main if needed, relieve pressure by opening the tap, then fit the manufacturer’s push-fit or compression tee — never work on live pressure. Warsaw cabinets are often tight; measure housing height and leave space to twist cartridges off. Use EU-certified kits with replacement O-rings; overtightening plastic ports cracks them. After install, check every joint with dry tissue for ten minutes under pressure. Renters need landlord approval before altering pipework. Book English-speaking plumbing help when isolators are seized, pipes are corroded, you want a second faucet hole in stone, or leaks persist — common in Mokotów, Wola, and Śródmieście kitchens with shallow 1980s cabinets.
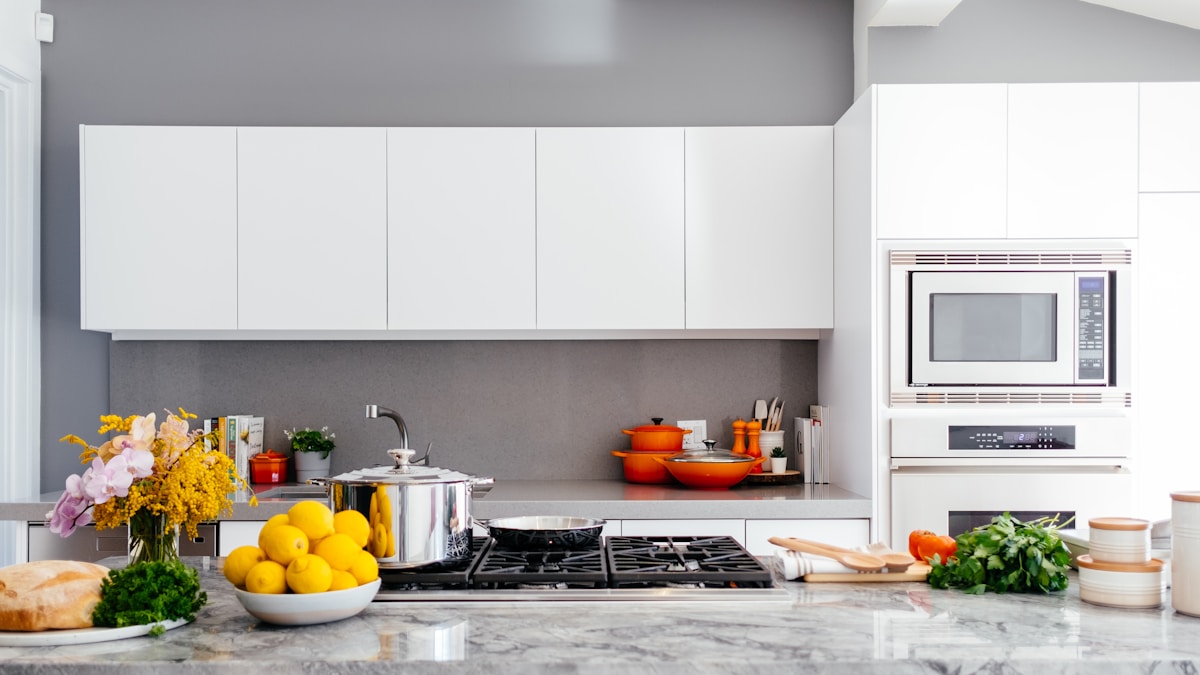
Under-sink filters are the most common “proper” install expats want after a few months of Warsaw tap water. They hide in the cabinet, handle daily cooking volume, and beat juggling a jug.
They also cause slow cabinet floods when tees leak or isolators were already seized. This guide covers the plumbing steps — not brand endorsements.
Before you buy
Confirm:
- Cabinet height — housing + wrench clearance
- Cold feed access — flexible hose or copper tail from wall
- Isolator works — see shut-off valve guide
- Landlord rules — written OK for pipe changes
- Filter type — carbon taste vs multi-stage vs RO (RO needs drain — more complex)
Compare options in tap filter types overview.
Tools and parts (typical kit)
- Adjustable spanner / basin wrench
- Towels and shallow tray
- Manufacturer tee, tubing, clips
- Optional: second faucet for dedicated filtered water
- Teflon tape only where manufacturer allows — many push-fits forbid tape
Installation sequence
1. Isolate and depressurise
- Close kitchen cold isolator clockwise.
- Open kitchen tap to drain residual pressure.
- If drip continues, close flat main — do not force corroded valves.
2. Fit the tee
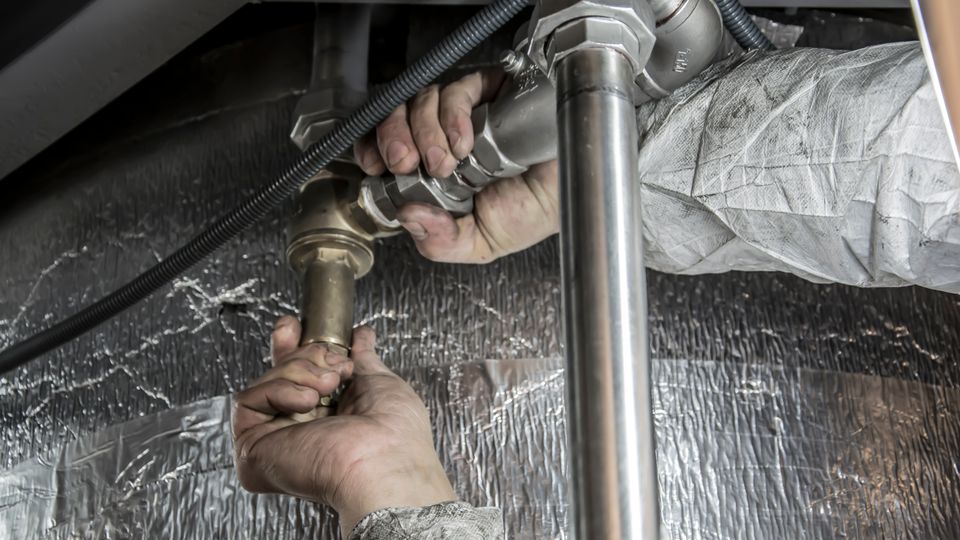
- Cut into cold feed after the isolator, before the mixer hose — exact layout varies.
- Push-fit: cut square, deburr, fully insert to mark.
- Compression: olive square on copper; do not use pliers on nut faces.
3. Mount housing
- Screw bracket to cabinet wall — not on flex hose strain.
- Vertical mount is usual; leave cartridge removal path clear.
4. Route to tap
- Option A: filtered water back to mixer (three-way valve kits)
- Option B: separate filter faucet in sink hole — may need stone driller
5. Commission and leak test
- Open isolator slowly.
- Run filtered tap 5+ minutes (manufacturer flush time).
- Wipe joints dry; check with tissue at 10 and 60 minutes.
- Mark cartridge change date on phone.
Warsaw kitchen quirks
| Issue | What we see |
|---|---|
| Shallow cabinets in older Wola blocks | Housing won’t fit — choose slim line |
| Corroded ½” tails | Tee needs remake — pro job |
| Shared riser noise after install | Sometimes unrelated — but note timing |
| Hard water | Cartridges expire faster — not a leak |
DIY vs plumber
Reasonable DIY — experienced home maintainers, working isolators, standard push-fit kit, no new sink hole.
Call a plumber when:
- Isolator seized or drips when closed
- Pipe is rigid copper with deformed olive
- You smell gas nearby (boiler cupboard shared — keep away)
- RO drain to sink trap needed
- Leak reappears after one retighten
Request English-speaking installation → with cabinet photo and filter manual link.
Aftercare
- Replace cartridges on schedule — blocked filters mimic low pressure
- Wipe housing O-rings when changing — no petroleum grease unless specified
- Tell next tenant or landlord where the isolator is
Mistakes that cost money
- Installing on hot feed by accident — damages carbon
- Kinking white tubing behind drawer runners
- Ignoring slow weep onto chipboard — swells, smells, disputes on move-out
- Using filter as fix for brown riser water — address source first
Related guides
- Tap water filter comparison
- Whole home filtration at the flat inlet
- Is Warsaw water safe?
- Dripping kitchen tap after work
Sources
- MPWiK — drinking water information
- Manufacturer installation sheet for your specific housing model
Bottom line
Under-sink water filter installation in Warsaw is straightforward with good isolators and space. Shut water, test joints patiently, and book a plumber when valves or pipe condition are questionable — a dry cabinet beats a cheap tee.
Book plumbing help in English →
Common questions
Can I install an under-sink filter without turning off the building water?
You need the kitchen isolator or flat main closed. If neither holds, stop and book help — working wet risks cabinet damage and scalding if hot lines are disturbed.
How often replace under-sink cartridges?
Follow the manufacturer — often 3–6 months for carbon, longer for some stages. A calendar reminder prevents pressure drop and taste return.
Does an under-sink filter soften hard Warsaw water?
Standard carbon blocks do not fully soften. Choose a labelled softening or RO stage if that is your goal — see our hard water guide.